
My first experience with macro photography dates back roughly ten years, when I purchased my first dedicated macro lens, Canon’s EF 100mm F2.8L. What a lens! Incredibly sharp and seriously addictive, I quickly became obsessed with the ability to capture extraordinary details beyond what the eye can see. Since then, I have spent countless hours honing my macro photography skills and striving for improvement. However, recently, I felt the urge to up the ante. I wanted to get even closer to my subjects with greater magnification. With this in mind, I decided to research available solutions, and one product in particular stood out – the Raynox DCR-250.
At the time of writing, I have owned the Raynox DCR-250 conversion lens for around three weeks. I won’t beat around the bush. It is ridiculously addictive! If you buy this conversion lens, be prepared to spend hours searching your gardens for interesting subjects. It does, however, come with its unique challenges. Here’s my honest review of the Raynox DCR-250 so far.
Reviewing the Raynox DCR-250 Macro Conversion Lens
What’s Inside the Box?
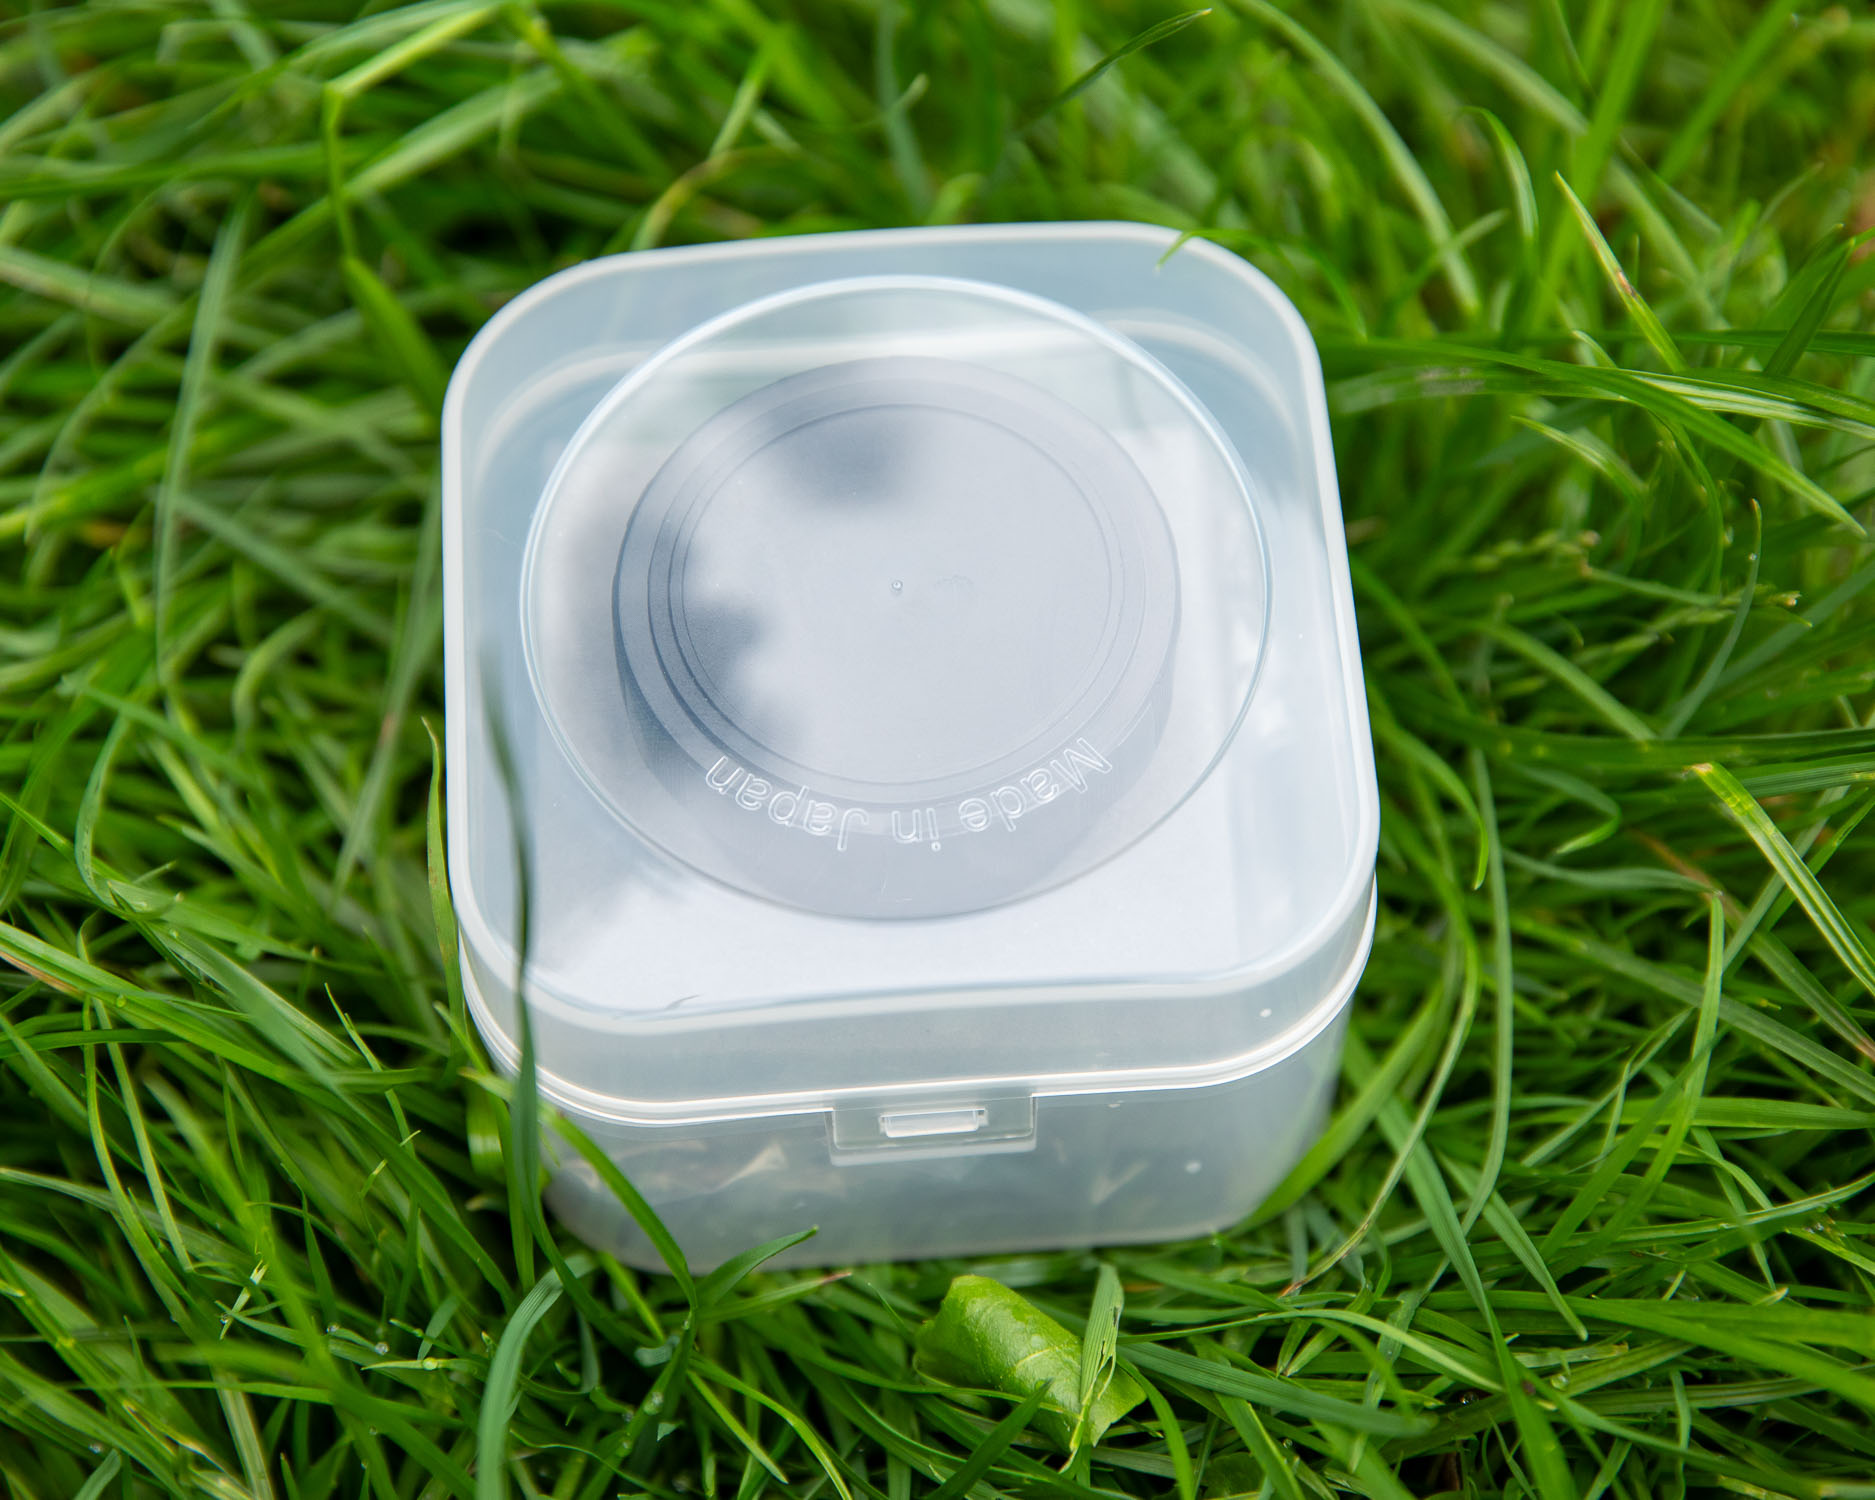
Before we dive into outlining the features of the Raynox DCR-250, let’s quickly take a look at what is included inside the box:
- Raynox DCR250 – 8 diopter super macro conversion lens
- Lens caps (front and rear)
- Intuitive lens attachment for filter threads of 52-67mm
- Convenient storage container
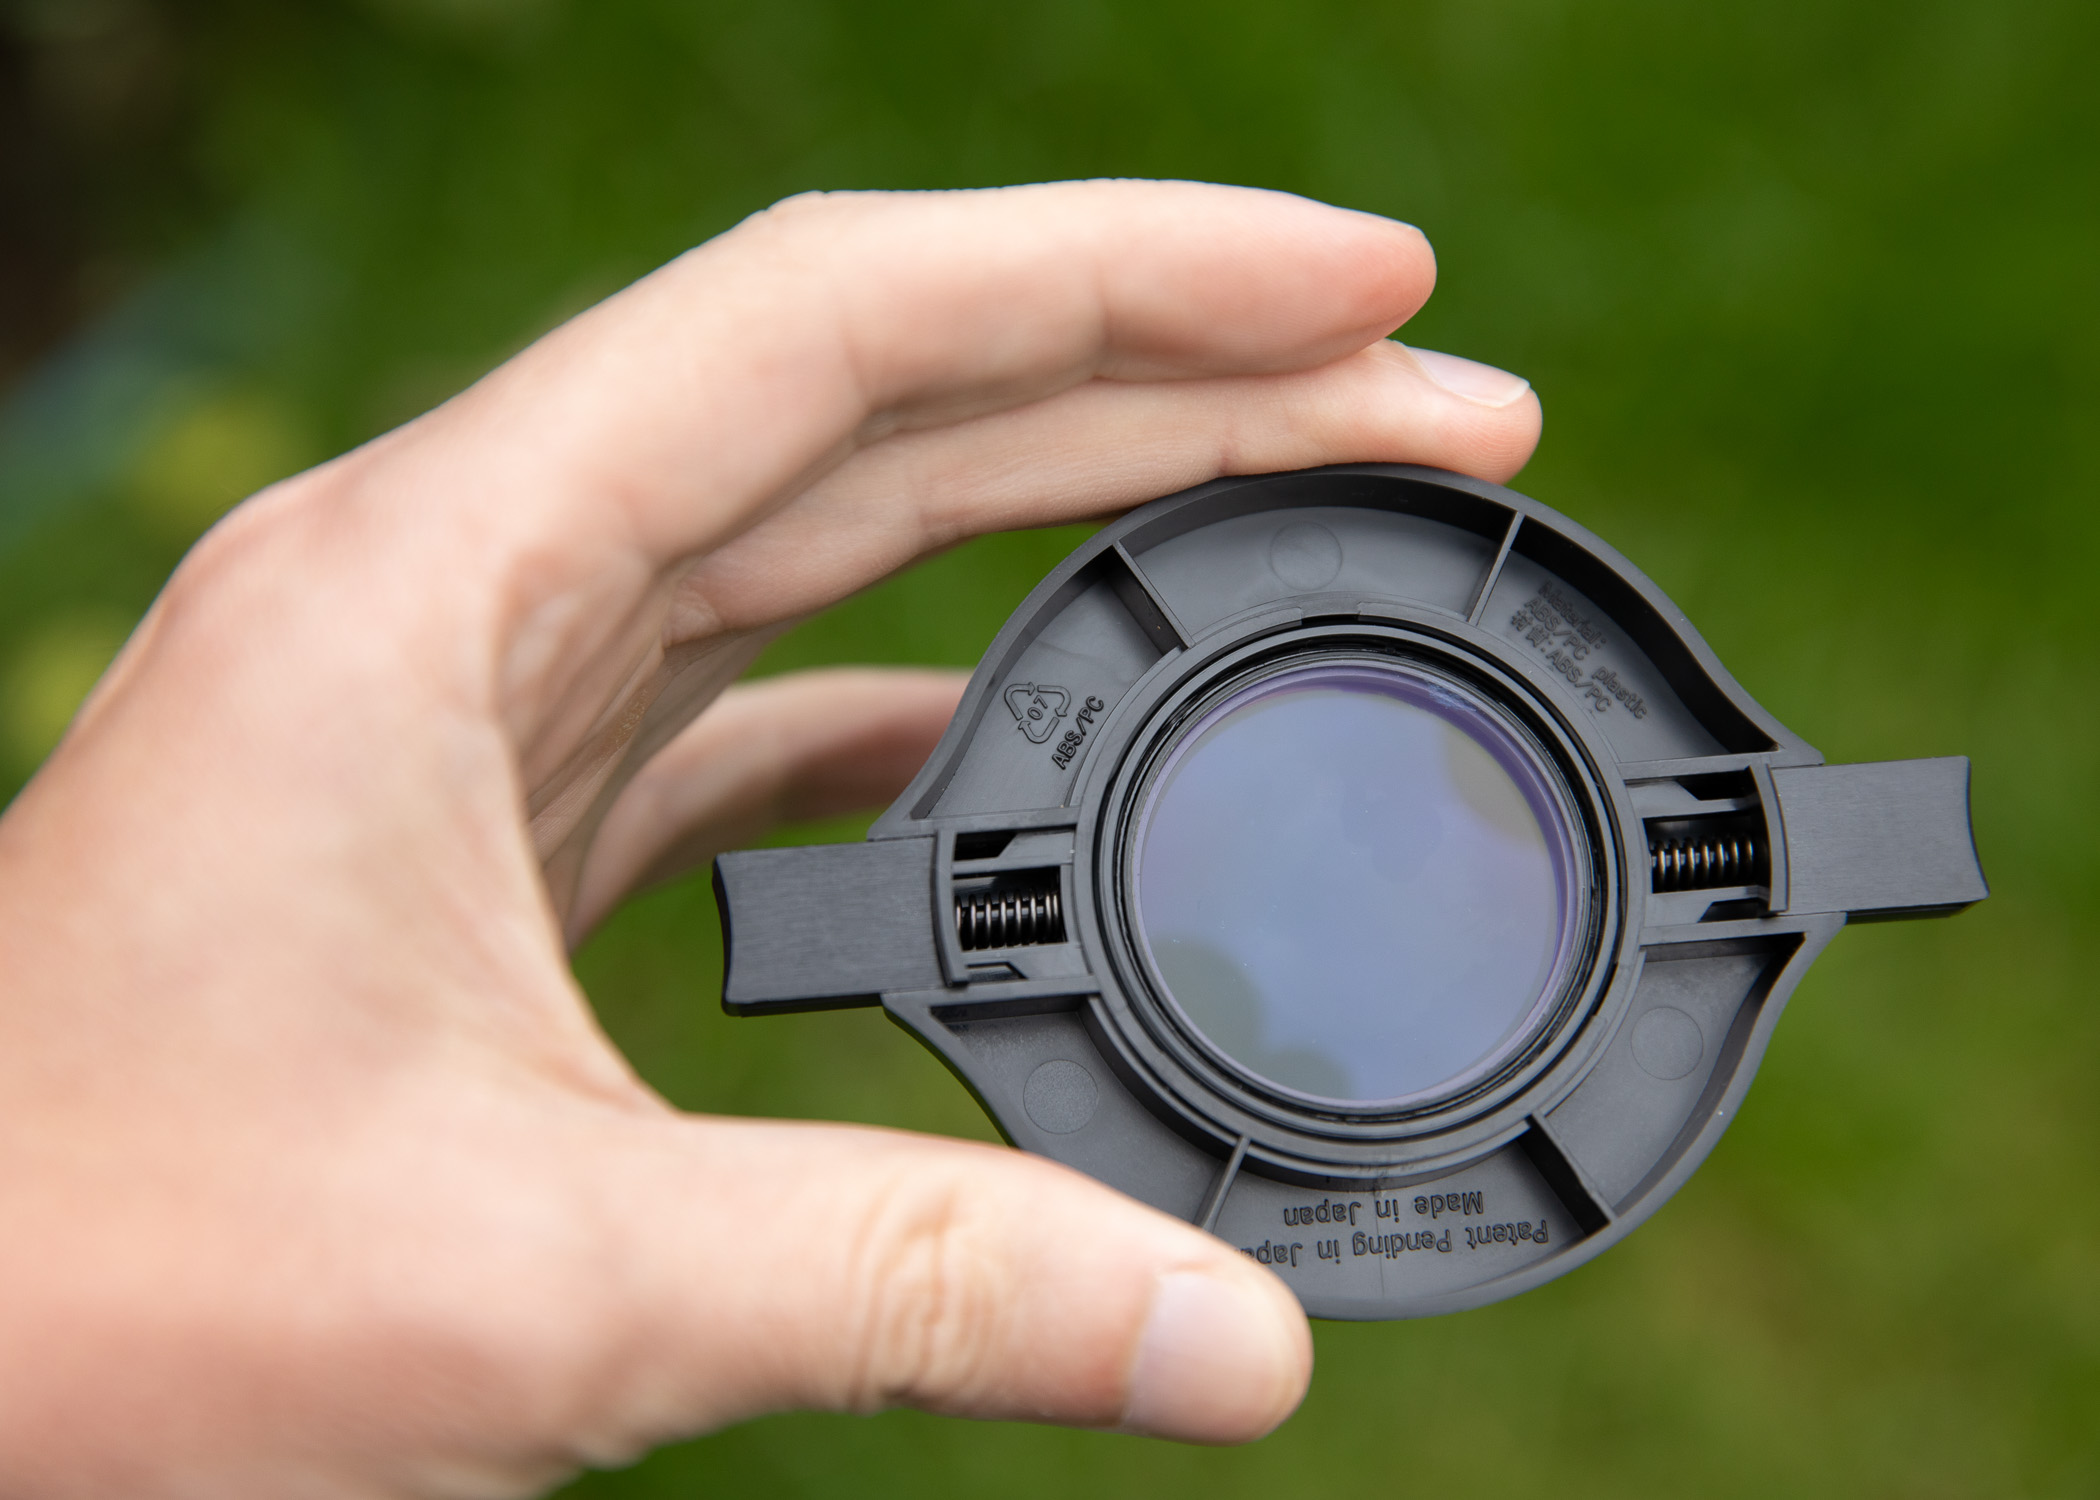
What is the Raynox DCR-250?
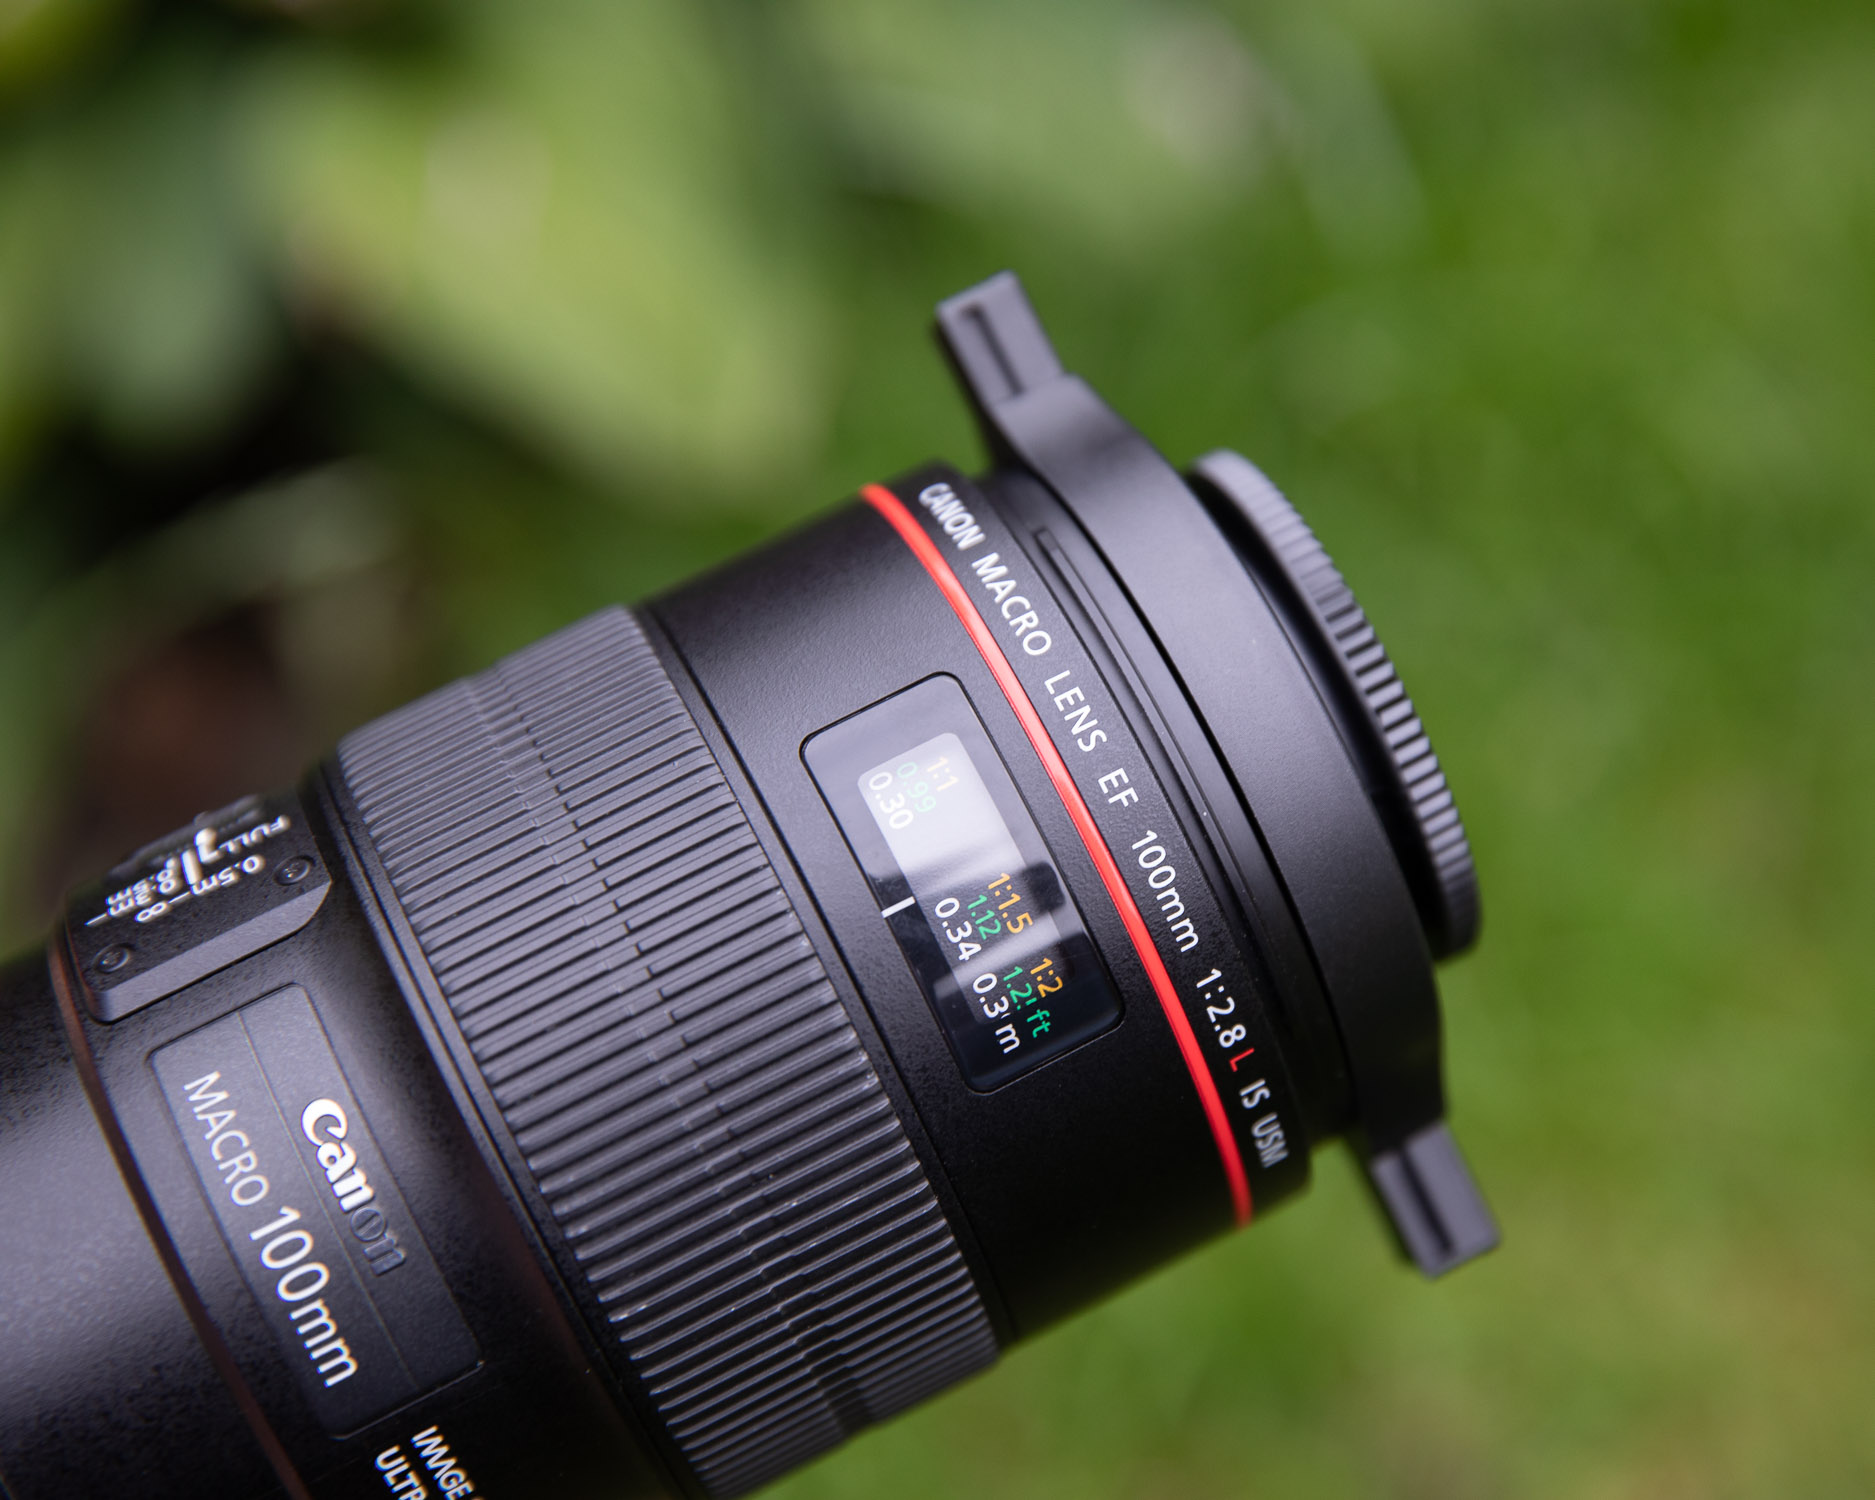
The Raynox DCR-250 operates as a super macro conversion lens. This intricate system is constructed with three-element optical glass in two groups and is designed to significantly magnify subjects whilst reducing common diopter flaws such as chromatic aberration. The DCR-250 is compatible with a whole range of different camera lenses, including prime, macro, and zoom lenses. From experience, I found the DCR-250 worked best when paired with my dedicated macro lens (Canon EF 100mm F2.8L) and my mid-range zoom (Canon EF 70-200mm F4L).
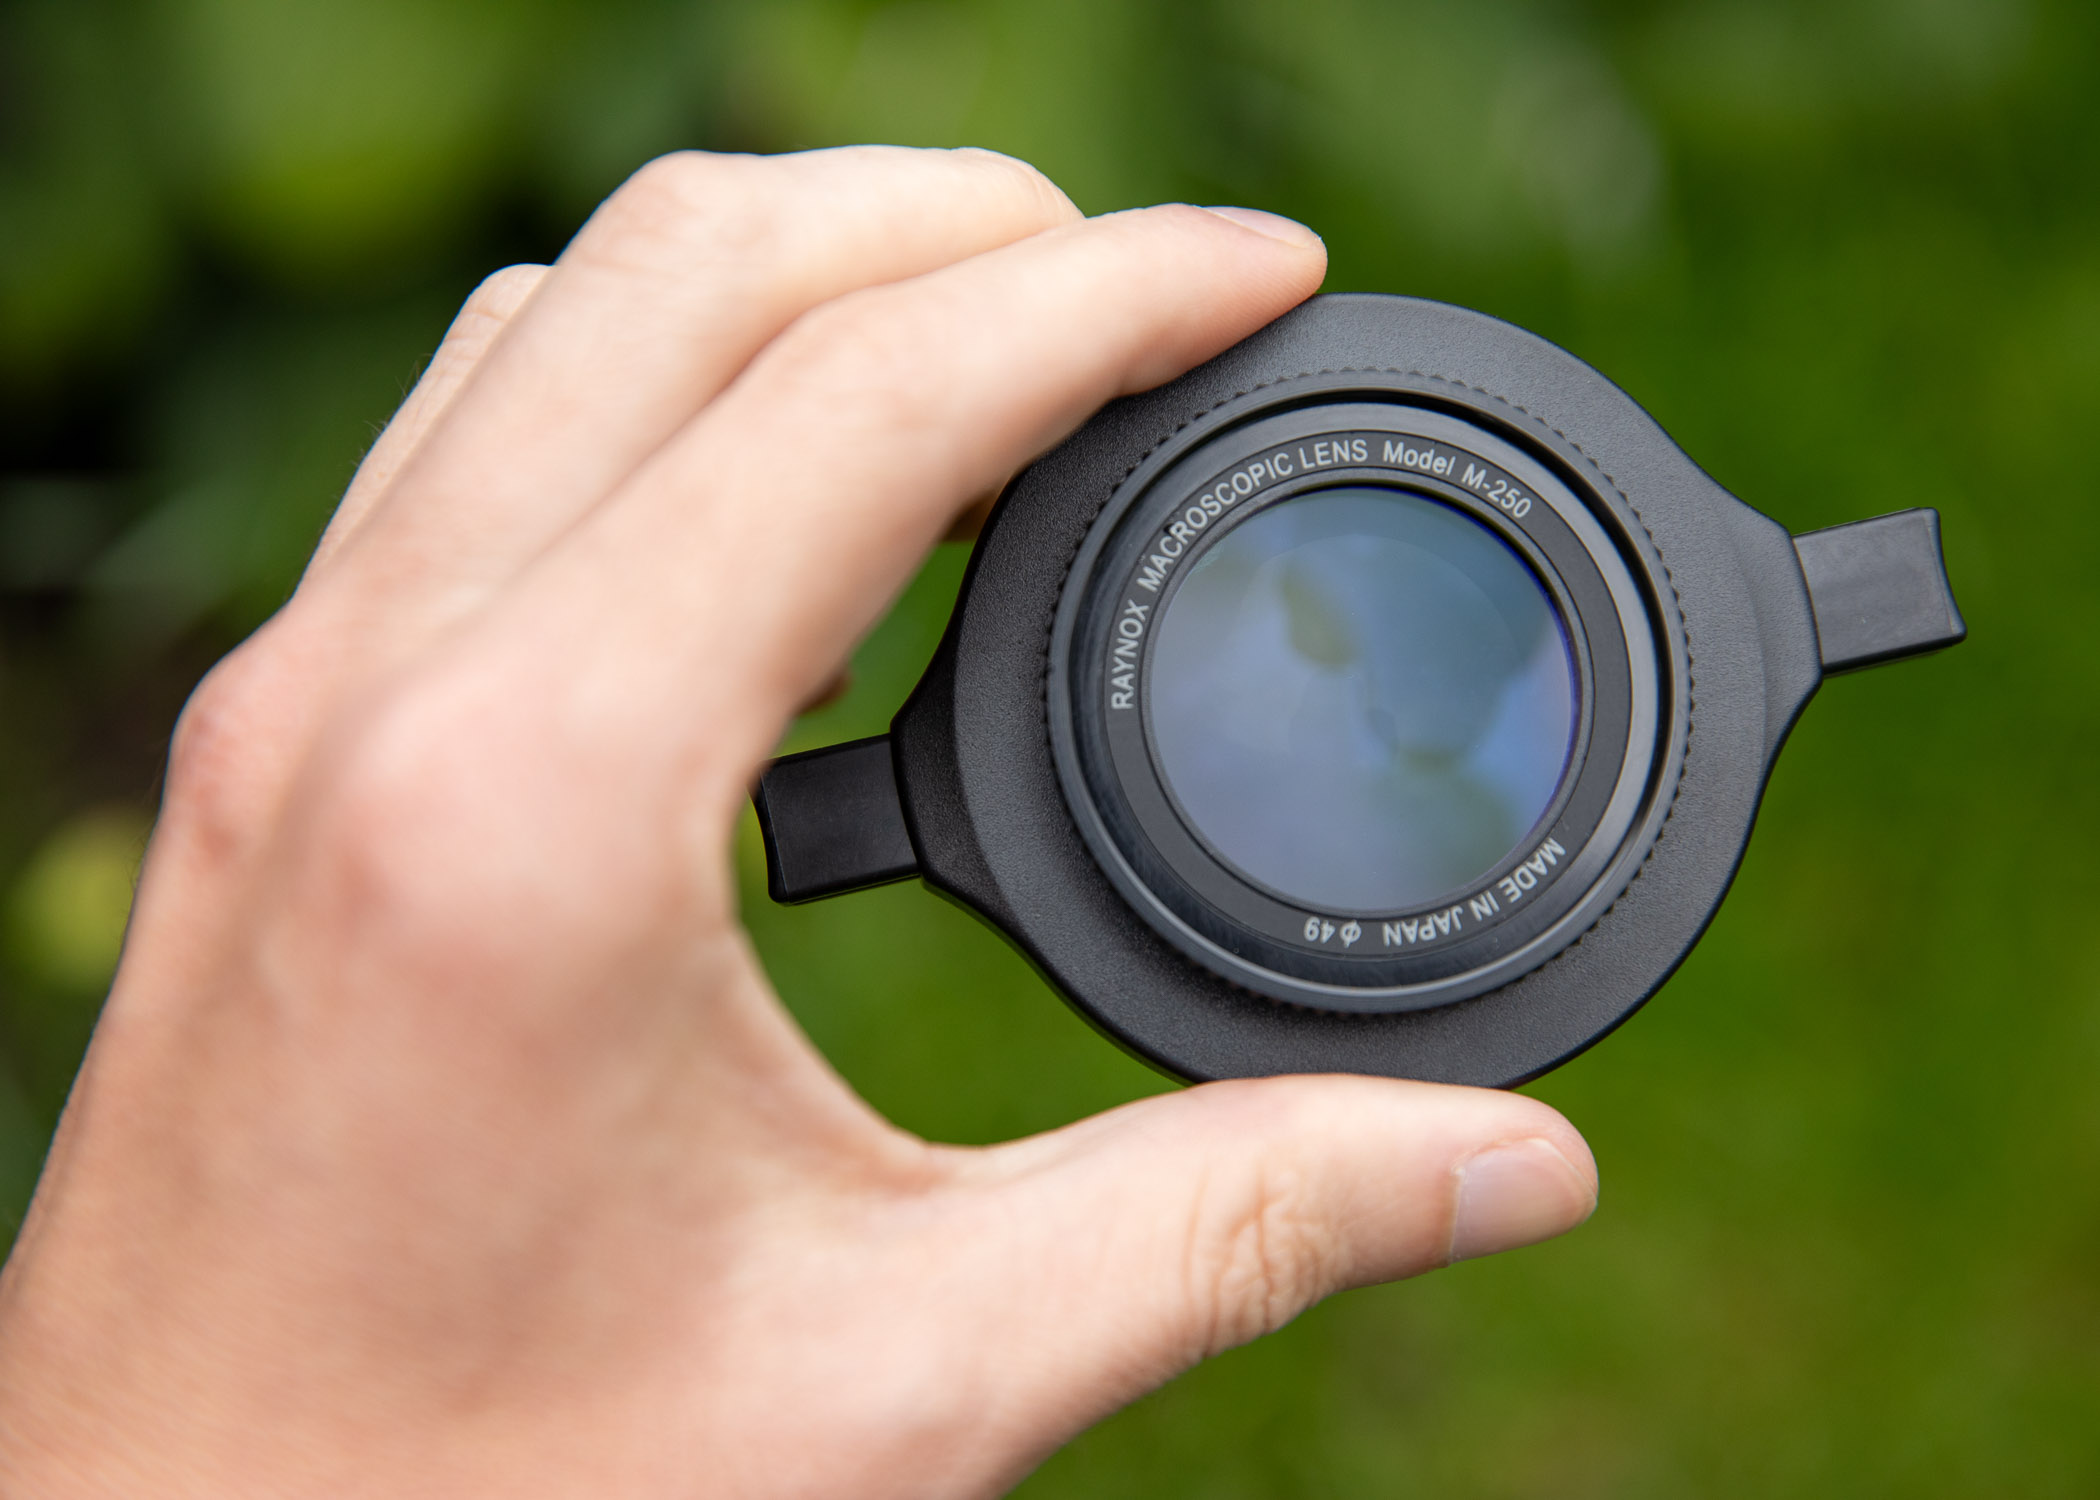
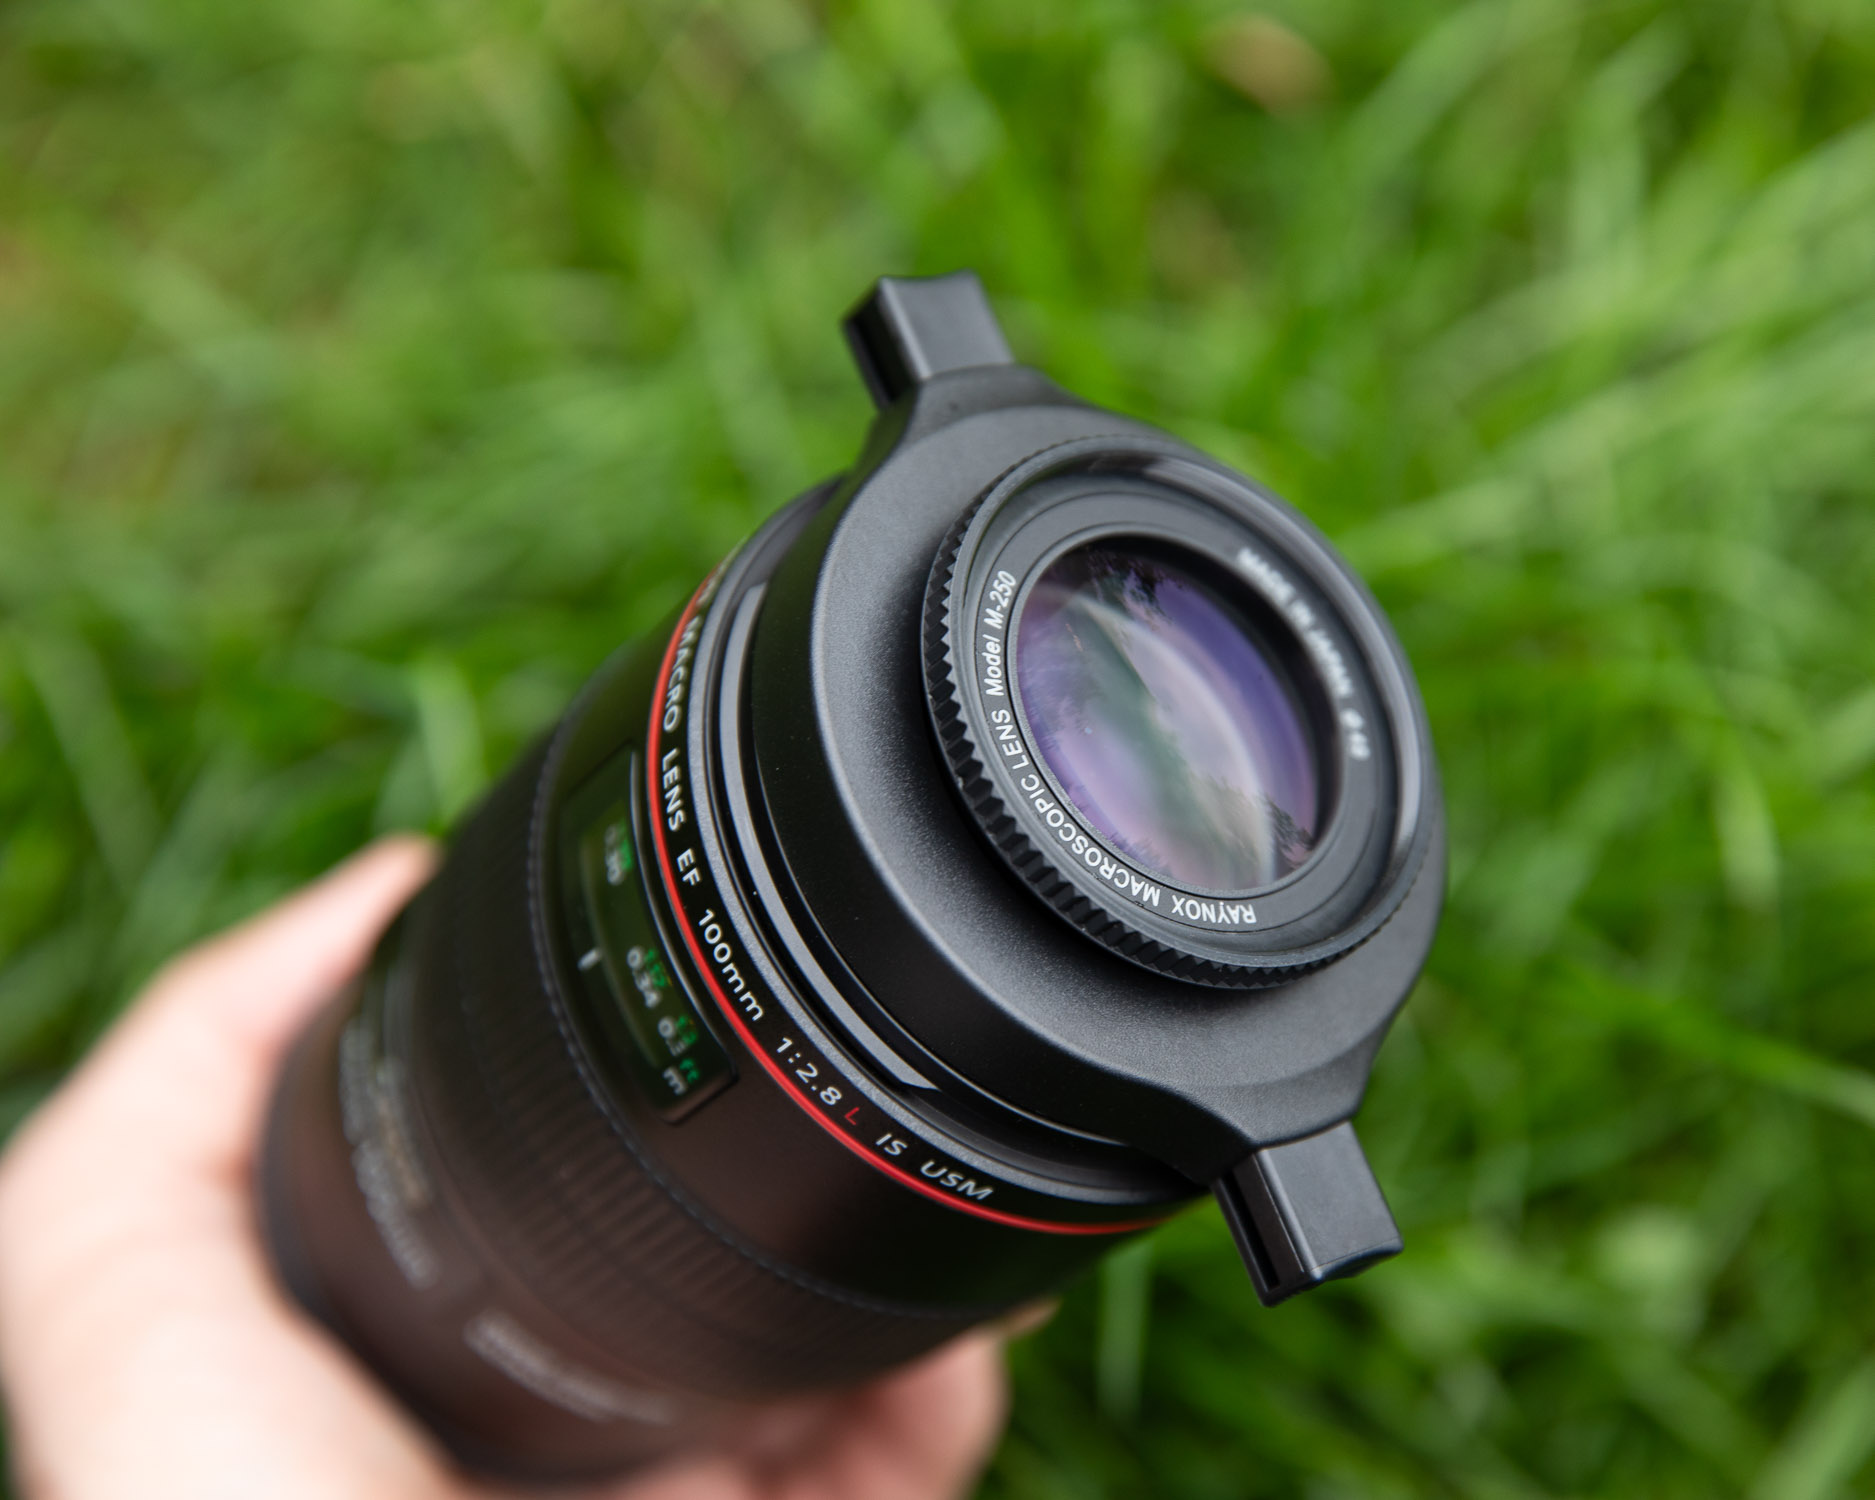
The Raynox DCR-250 is an incredibly convenient system that can be attached and detached from your chosen camera lens in seconds. This is achieved via an intuitive spring-loaded locking mechanism, which allows the diopter to be fitted to camera lenses with a filter thread between 52-67mm. If you would like to fit the diopter to a lens with a filter thread outside of that covered by the spring locking mechanism, you can purchase step-up and step-down rings. Step-up and step-down rings are reasonably cheap to buy, but bear in mind that the diopter has a thread size of 43mm, so you may have to combine multiple rings to achieve 43mm.
The Role of the Raynox DCR-250
The primary role of the Raynox DCR-250 is to reduce the minimum focal distance and increase the magnification of your subject. The trade-off of decreasing the minimum focal distance is a significant reduction in depth of field (DoF). In extreme cases, whilst working at the minimum focus distance, you can expect an extremely narrow DoF of a couple of millimetres. It is, therefore, wise to consider using narrow apertures of F8 and beyond. Typically, narrower apertures require more light, so don’t be afraid to bump up your ISO to achieve fast enough shutter speeds to overcome camera shake and subject movement. Some macro photographers often use dedicated flashguns to overcome low light and maintain a lower ISO. Whilst this isn’t my personal style (I prefer natural lighting), this is a completely acceptable method of obtaining sharp macro photographs. If you are considering using flashguns, it is worth looking into a reliable diffuser, or else you may find the light is too harsh.
Tips and Tricks for Macro Photography with the Raynox DCR-250
Although the tips and tricks listed below are discussed in application to the DCR-250, they can be applied to all aspects of macro photography.
Forget Autofocus
Exactly this. Unless you are in a studio setting with your camera on a tripod and every element is locked down securely, forget about autofocus. Instead, change your focus to manual, set a rough focus distance by twisting the focus ring on your lens and then apply the “rocking method“. The rocking method involves gently moving backwards and forwards to achieve sharp focus on your subject. It is important to make your movements as subtle as possible, especially whilst working with small focal distances. When you have achieved sharp focus via the rocking method, fire off the shutter and capture the photograph. The rocking method takes a little practice, but it will quickly become second nature in no time. You can also set your camera’s burst mode to high and hold the shutter as you rock backwards and forwards. This method is not ideal, as there will likely be a lot of wasted shots, but there may be a handful of sharp shots within the mix.
Use Higher ISOs
Don’t be afraid to bump up your ISO. If you rely on natural light for your macro photography, you may find that there isn’t enough light throughout certain periods of the day. Sunrise and sunset are spectacular times of day for photography, but the light is generally fairly low. During my initial experience with the Raynox DCR-250, I regularly used ISO values of 800 and above to achieve high enough shutter speeds to produce sharp photographs. The phobia of using higher ISOs should be a thing of the past, as most modern-day cameras handle noise incredibly well. On top of this, noise-reduction tools in post-production software have improved significantly.
Set Narrow Apertures
Consider bumping up your apertures to F8 and beyond. Increase your depth of field and increase your chances of obtaining sharp macro photographs. Achieving a tac-sharp image of a tiny subject at F2.8 at the minimum focus distance isn’t worth the stress, trust me! Don’t worry, even at F8, if you are working at or near the minimum focus distance, you will still be able to achieve a pleasing background blur.
Compose Parallel to Your Subject
Depth of field is a creative consideration in all aspects of macro photography. One way to overcome the challenges imposed by a microscopic depth of field is to consider shooting parallel to your subject. Photographing parallel to your subject will increase the chances of more of the subject falling into the focal plane. This means that more of your subjects will be in sharp focus. That is not to say every photograph should be taken parallel to your subject. This is the beauty of photography. The power of creativity is in your hands. You can still create incredibly compelling photographs even with a narrow DoF, so don’t be afraid to try other angles, too!
Focus Stack
Focus stacking is not something I have attempted yet with the Raynox DCR-250, but it is a practice I am very experienced with. For sharp images front to back, you can shoot what we in the photography industry call a focus stack. This slightly advanced technique involves capturing a burst of images, each focussed at a different point, before combining the images in post-production. Focus stacking allows you to overcome narrow depths of field and produce exceptionally detailed photographs. Stacking can be achieved with the “rocking method” if shooting handheld. That said, modern-day cameras such as the Canon R5 and R6 and the Olympus OM systems have built-in focus bracketing capabilities. I won’t go into too much detail about this, but in a nutshell, you can define the number of photographs for your focus stack, and the camera will do the focus shifting for you.
If you are using a tripod, the job is much easier. With your camera mounted to a tripod, set your starting focus point and slowly rotate the focus ring on your camera lens. At each point, stop and fire the shutter. There is no limit to how many photographs you can stack. Typically, the more, the better to ensure a seamless stack in post-processing software.
The benefit of using a focus stack is that you can negate the need for a narrow aperture to achieve a greater depth of field. You can comfortably shoot with your lens wide-open at F2.8 and avoid the chance of diffraction – a common side-effect of using narrow apertures. Diffraction is the dispersal of light, which causes a reduction in overall image sharpness.
Have Fun, Experiment!
Macro photography is incredibly addictive. Since picking up the Raynox DCR-250, I have lost countless hours looking for interesting subjects and experimenting with creative potential. Have fun, don’t be afraid to try something new and experiment. Yes, not every shot will be razor-sharp. More than likely, many images won’t be in focus at all, but don’t let that throw you. The photographs you do manage to capture with sharp focus will reveal details you never thought possible!
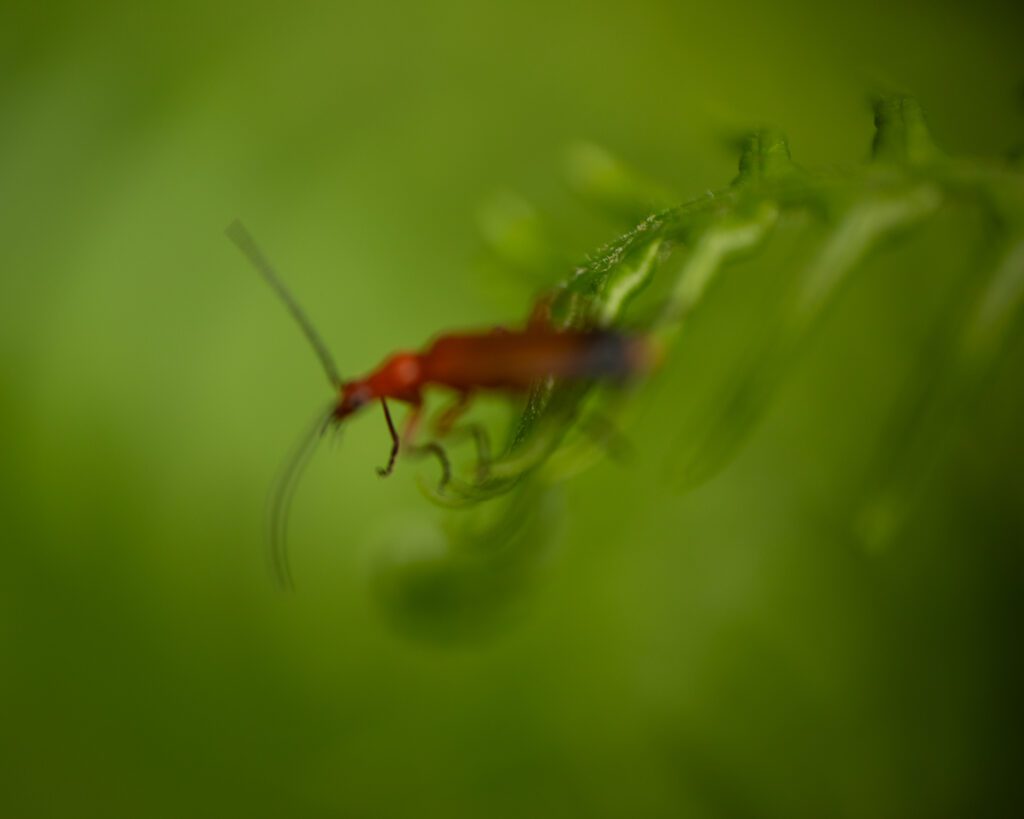
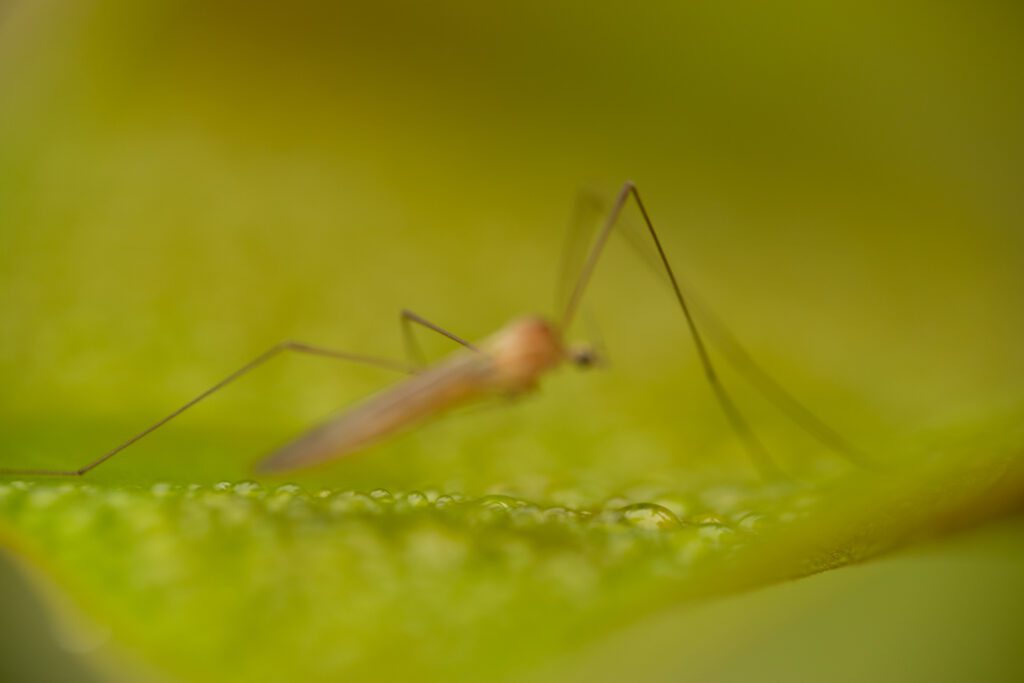
Sample Images Using the Raynox DCR-250
Here are a few sample images from my first real experiences with the Raynox DCR-250. All of the photographs were captured handheld using manual focus with natural light, and the “rocking method” was applied to achieve sharp focus.
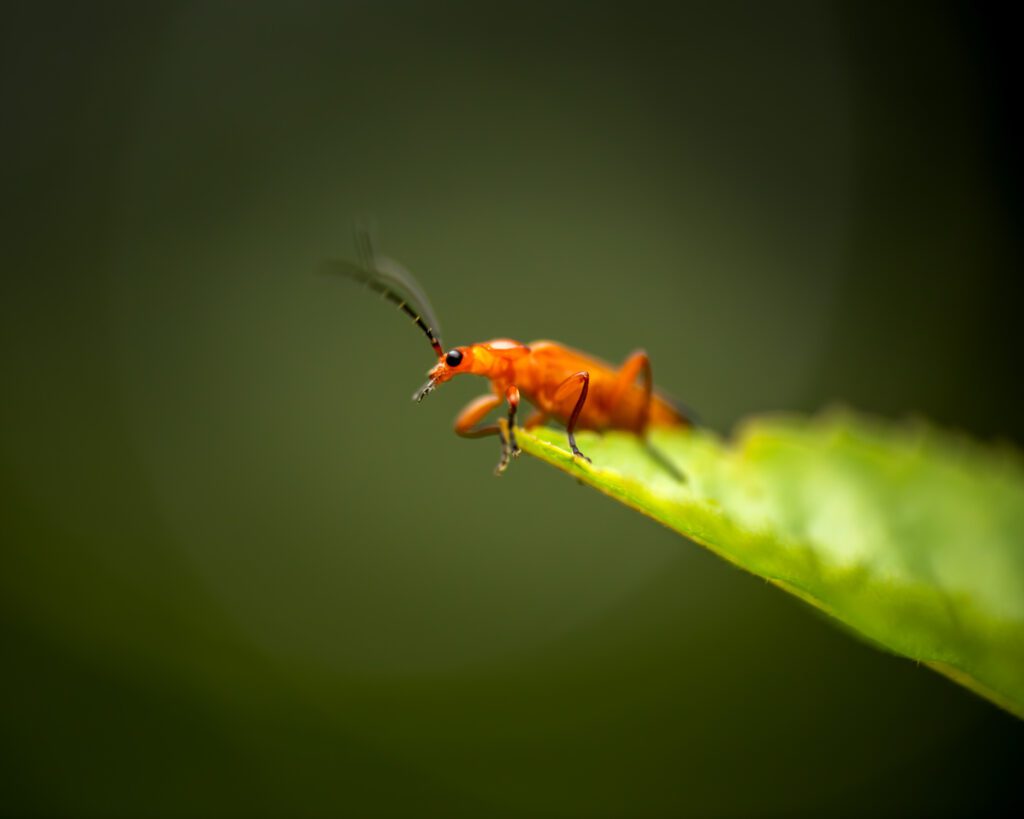
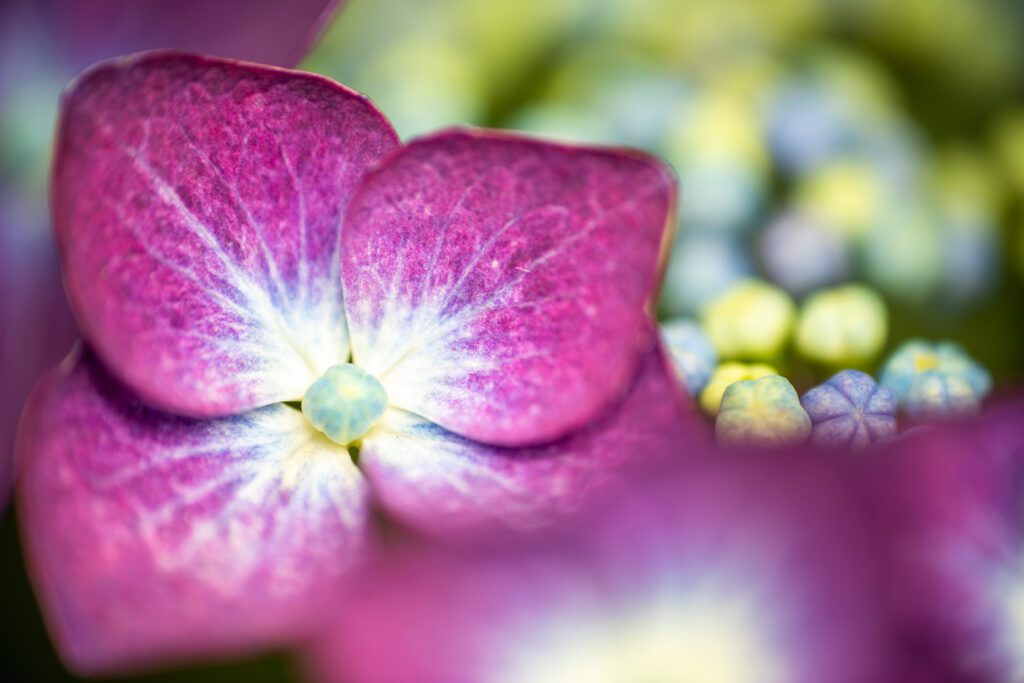
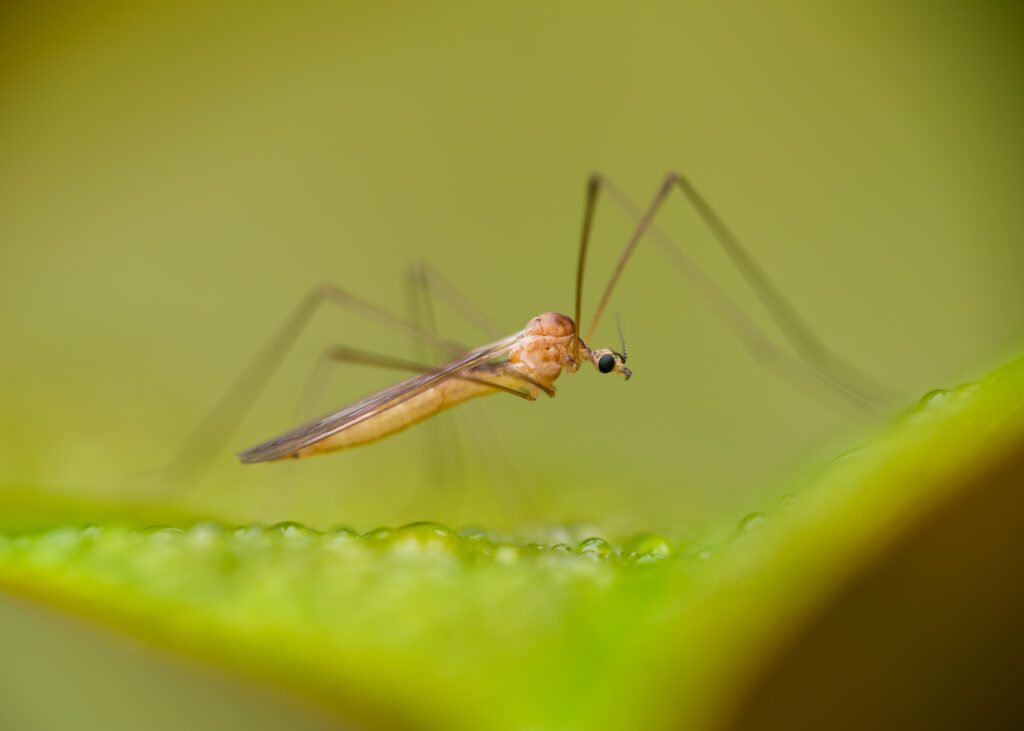
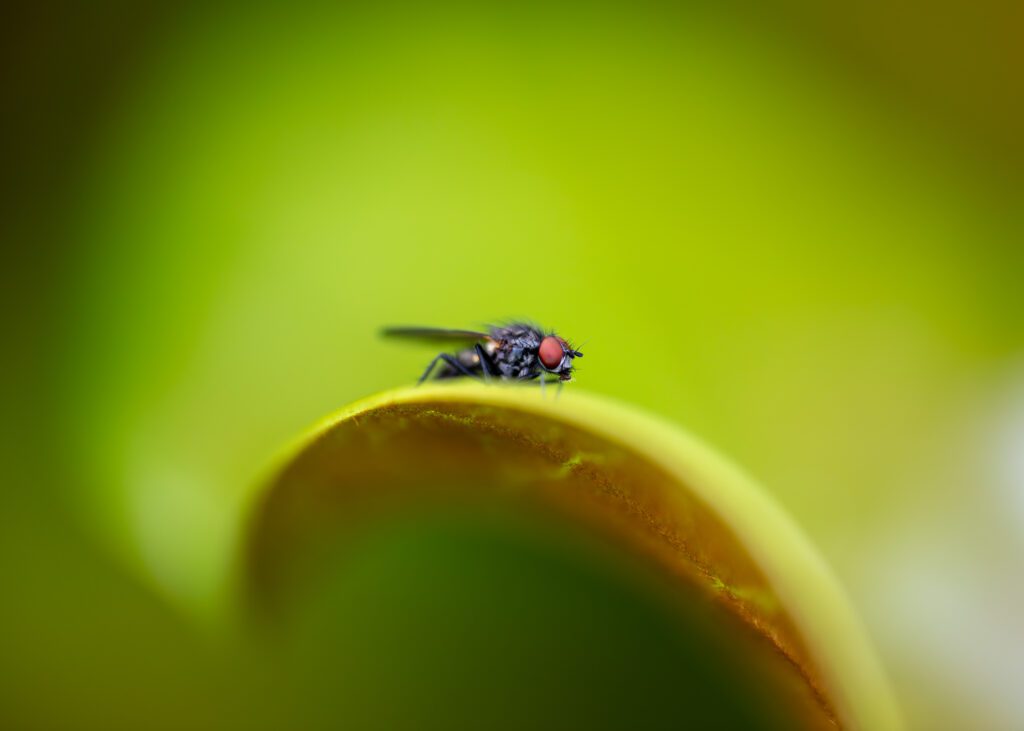
Each photograph was captured using my trusty Canon EOS 5D Mark IV paired with my Canon EF 100mm F2.8L macro and the Raynox DCR-250 diopter. Forgive me for the lack of variety in subjects. Summer has been abysmal so far, which has had a knock-on effect on the number of bees, butterflies, and insects across England. With the weather not showing any signs of relenting, I am seizing every opportunity as it arises.
Have a look at the depth of field in each image. Microscopic, right? This is what makes macro photography so much fun. Working with a small depth of field and uncovering details you didn’t even know existed.
The Fails
Go on then, you’ve twisted my arm! I’ll share a few fails, too (and there are plenty). Out-of-focus (OOF) shots are common whilst working with tiny depths of field. Most of the out-of-focus shots were the result of overzealous movements by myself. A handful were also generated by the effects of wind and by unpredictable movement from my subject at the time.
Should You Buy the Raynox DCR-250?
If you are looking at entering the world of macro photography but your budget doesn’t allow for a high-spec dedicated macro lens, the Raynox system is a perfect solution. It is lightweight, powerful, and doesn’t sacrifice image quality or sharpness. The Raynox DCR-250 is relatively cheap compared to dedicated macro lenses, meaning the money you save can be invested elsewhere. The convenient attachment system also allows you to attach and detach the Raynox diopters in seconds. If the DCR-250 offers too much magnification for your needs, Raynox also manufactures a DCR-150 with a +4.8 diopter. The only downside I have come across, and this is me being picky, the lens caps are very flimsy.
Yes, there are other options for macro photography, such as extension tubes, and yes, these are more likely the cheaper option. However, this comes at a price. Using extension tubes can reduce the amount of light reaching the camera sensor. Less light reaching the camera sensor can result in the production of darker images. Cheaper options may also cause unwanted vignetting and image quality issues.
Overall
In short, if you are searching for a cheaper option to begin or upgrade your macro photography potential, the Raynox DCR-250 will tick all the boxes. It is an efficient system that will add unbelievable flexibility to your workflow. If you haven’t used extreme magnification lenses before, it may take some getting used to, but if you’re willing and eager to put in the hours, you’ll be an expert in no time. As someone heavily invested in landscape photography, macro photography offers a nice distraction during the summer months when my landscape photography drops off somewhat. The Raynox DCR-250 was a nice step up from my dedicated macro lens. I now have the opportunity to get closer to my subjects than I ever thought possible, capturing details beyond what my eyes can see.
What’s Next for Macro Photography with the DCR-250?
Throughout the next few weeks, I will be investing a significant amount of time into macro photography. The Big Butterfly Count begins on the 12th of July and runs until the 4th of August. I plan to contribute as much as possible throughout this valuable survey. Alongside the conservation work of counting the different species of butterflies in my local area, I plan to photograph as many examples as possible. My goal is to capture intricate photographs illustrating the behaviour of these fantastic insects in their natural habitats. With this, I aim to promote the benefits of encouraging wildflower growth by demonstrating their importance to the delicate ecosystems we live amongst. All being well, I will share a progress update on this project within a couple of weeks.
As always, thanks for reading if you made it this far. If you would like to know more about anything discussed in this blog post feel free to contact me and I will be happy to help.